If you’ve been reading my previous posts, you’d know that I highly recommend SiteGround especially because of its superb customer service. The good news is it’s very easy to join and you can do so for only as much as $4.95/month! In this article, I will teach you how to set up hosting with SiteGround in three easy steps.


Affiliate Disclosure: This page contains affiliate links which means that if you click on the link and purchase the item, I will receive an affiliate commission at no extra cost to you. See my full disclosure policy here.
…
Table of Contents
HOW TO START A WEBSITE WITH SITEGROUND
STEP 1: CHOOSE A HOSTING PLAN
SiteGround has three plans to choose from and you get a big discount when you first sign up on any of them.

#1. The StartUp Plan
This is what I recommend you choose as a beginner.
This plan comes with 10GB web space for 1 website, free SSL (Secure Sockets Layer for your website’s security), free email, and free WordPress installation.
#2. The GrowBig Plan
This includes the option for multiple websites, extra webspace, and improved website speed.
#3. The GoGeek Plan
This plan is perfect for those who have e-commerce and larger websites that require more extensive resources and integration.
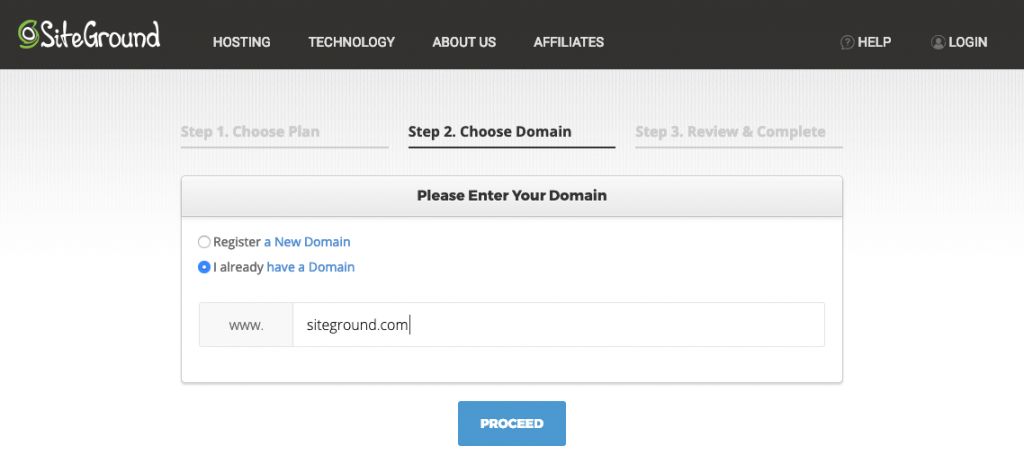
STEP 2: CHOOSE A DOMAIN NAME

Register a new domain (for a separate price), or if you already have an existing one, you can go ahead and link it with SiteGround.
STEP 3: REVIEW AND COMPLETE YOUR ORDER

If you want to save money, I would recommend you choose a longer period (2 or 3 years) because you will get a greater discount.
Overall, if you already have an existing domain name, you can get hosting for less than $100AUD as shown in the above picture.
Personally, I spent around $169AUD because I had to register a new domain and I also availed the Domain Privacy to protect my personal information.

…
There you have it! Very simple right?
Once you have set up hosting with SiteGround, you just have to install WordPress then you can begin designing your website!


